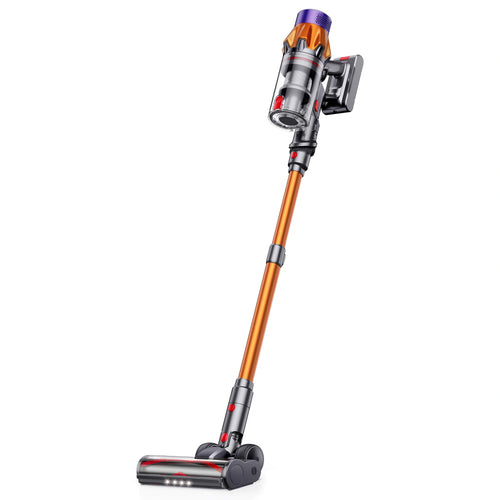
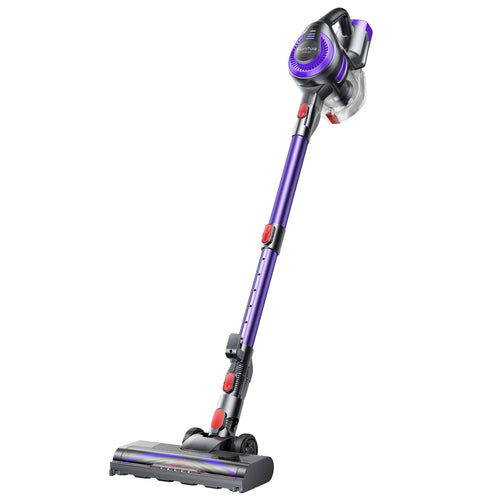
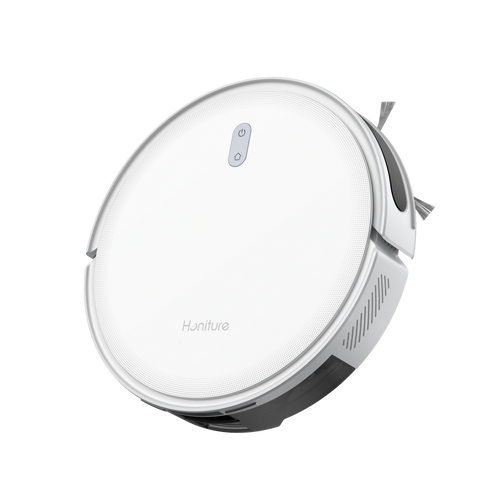
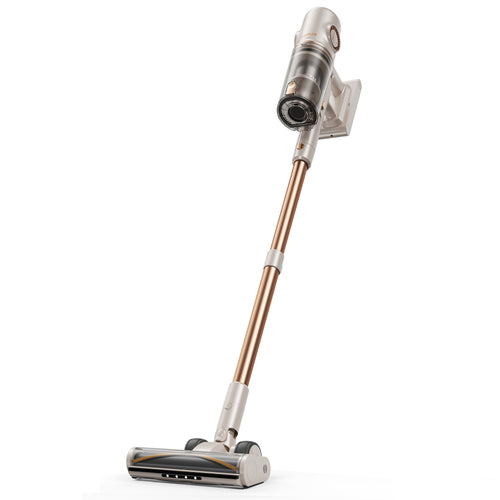
We use robotic vacuums to save time and effort, letting them clean, mop, charge, and even clean themselves automatically. However, regular checks and basic maintenance are still essential. Simple upkeep, in most cases, ensures that your robot vacuum operates efficiently and lasts longer. By sticking to these habits, you’ll enjoy more consistent and longer-lasting performance.
Common Maintenance Guide for Robotic Vacuum:
1. Clean the Brushes
Frequency: Once a week or every two weeks.
Method: Use a small brush or toothbrush to clean the robot’s main brush and side brushes. Remove hair, string, or any debris that may get tangled, as they can affect suction and brush performance.
Consider purchasing brush replacement accessories if necessary.
2. Clean the Vacuum Filter
Frequency: Once every 1–2 months, depending on usage.
Method: Open the filter and rinse it with water (if the filter is washable). Make sure it’s completely dry before reinstalling it. If the filter isn’t washable, clean it with a vacuum or small brush.
Consider purchasing filter replacement accessories if necessary.
3. Empty the Dustbin
Frequency: After every use, or daily. Method: Empty the dustbin promptly and wipe the interior with a damp cloth regularly to keep it clean.
4. Clean the Wheels
Frequency: Once a month. Method: Check the wheels for debris or hair that may be tangled. Clean them thoroughly, especially the drive wheels, to ensure smooth movement.
5. Check the Sensors
Frequency: Once a month.
Method: Gently wipe the robot's sensors with a soft cloth to prevent dust and dirt from affecting navigation and obstacle avoidance.
6. Software Updates
Frequency: Check every few months, depending on the brand and model.
Method: Use the robot’s app or official website to check for firmware updates and ensure the robot is running the latest software.
7. Clean the Charging Dock
Frequency: Once a month.
Method: Clean the metal charging contacts on the dock to ensure the robot charges properly.
Different robotic vacuum brands may have specific maintenance requirements. What Should Pay Attention to When Using the Honiture G20 PRO?
Routine Maintenance for Honiture G20 Pro Robotic Vacuum

1. Roller brush (Recommended cleaning frequency: weekly)
1.1. Flip the machine press the buckle on the roller brush cover, and remove the roller brush cover
1.2. Remove the roller brush.
1.3. Use the cleaning brush that comes with the machine to remove the dust in the main brush and the roller brush cavity, and then clean the objects entangled on the roller brush.
2. Side brush (Recommended cleaning frequency: weekly)
2.1. Flip the machine, and pull out the side brushes vertically
2.2. Remove the entangled hair and dirt, and then reinstall the side brushes.
2.3. Align the left side brush (L) and right side brush (R) with the letters L and R on the bottom cover, and press the side brushes to reinstall them.
Note: It is recommended that you replace the side brushes every 3 months to ensure the cleaning effect.
Consider purchasing replacement side brush accessories if necessary. Honiture provide original replacement for each Honiture vacuum model: Vacuum Accessory
3. Dust box and filter (Recommended cleaning frequency:after each cleaning)
3.1. Remove the machine cover lift the handle of the dust box and take out the dust box.
3.2. Press the switch of the dust box, open the dust box, and dump.
Note:
Use clean water for washing, and do not add any detergent.
Do not use a brush or fingers to clean the filter.
Dry the filters thoroughly for at least 24 hours.
It is recommended that you replace a set of filters every 3 months.
Consider purchasing filter replacement if necessary. Honiture provide original replacement for each Honiture vacuum model: Vacuum Accessory
4. Clean the dust box
4.1. After the machine issued for a long time, remove the filter gauze and HEPA filter.
4.2. Put the removed prefilter and dust box under the faucet for washing (the HEPA filter can not be washed by water).
4.3. Remove the water droplets, and dry the filter and dust box thoroughly before use. Press the switch of the dust box, open the dust box, and dump.
Consider purchasing dust container replacement if necessary. Honiture provide original replacement for each Honiture vacuum model: Vacuum Accessory
5. Clean the infrared anti-collision sensor (Recommended cleaning frequency: monthly)
6. Clean the cliff sensor (Recommended cleaning frequency: monthly)
7. Clean the charging contact(recommended cleaning)
8. Upgrade the firmware
Start the smartphone app, and enter the firmware upgrade page. After the new firmware is detected, follow the instructions to upgrade the firmware. To upgrade the firmware, the power must be equal to or greater than 50%. It is recommended that you place the machine on the docking station for upgrade.
9. Clean the signal transmission zone(Recommended cleaning frequency: monthly)
10. Battery Maintain:
The machine is equipped with a high-performance rechargeable lithium battery pack. To maintain battery performance, keep the machine in charging state in daily use.
If you do not use the machine for a long time, power it off and store it properly. Charge the machine at least once every 3 months to avoid damage to the battery due to excessive discharge.
Conclusion:
Hope this article helps you take better care of your robot vacuum, so it stays as effective and long-lasting as the day you first brought it home. That way, it can keep doing a great job cleaning for your home. Feel free to leave any thoughts or questions in the comments!


